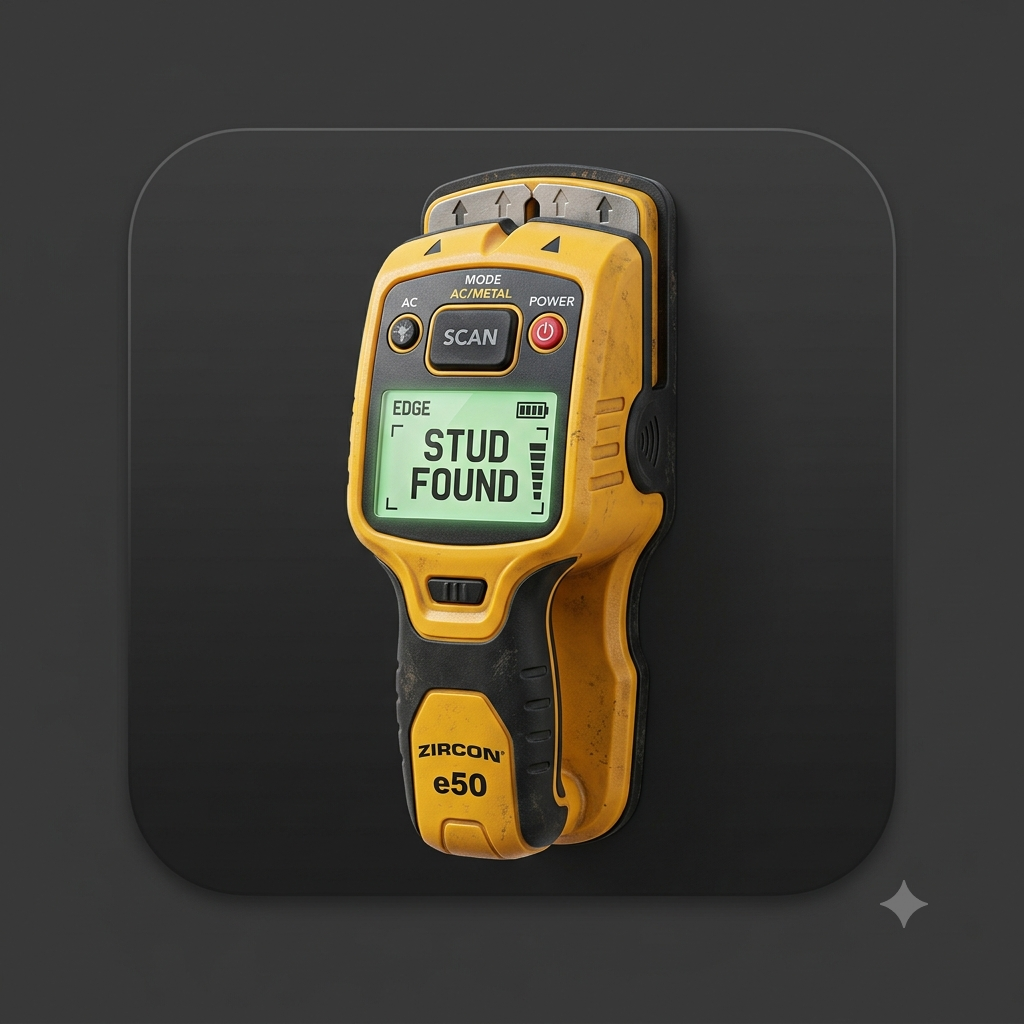
 Stud Finder
Why Modern Electronic Stud Finders Fail on Plaster Walls
Plaster and lath walls were the standard in residential construction prior to the 1950s. They consist of thousands of horizontal wood strips (lath) nailed to vertical studs, covered in a wet mixture of lime, sand, and plaster keys that squeeze through the gaps to harden [1]. Electronic capacitive stud finders operate by measuring wall density changes. Because the dried plaster keys create a highly irregular density pattern behind the wall, capacitive sensors read constant false positives, rendering them useless on plaster walls.
The Magnet Method: Locating Lath Nails to Find Studs
The most effective method to find studs in plaster walls is to locate the small steel nails that secure the wood laths to the vertical studs. Because there are hundreds of lath nails driven along each stud, you can use a high-sensitivity magnetic sensor app or a neodymium magnet to find them. Slide the app slowly in a grid pattern. When you locate a nail, mark it. Find another nail vertically aligned 8 or 12 inches above or below it. A vertical line of these small nail spikes marks the path of the stud.
- Drywall/lath nails: Find small nails driven through lath strips into vertical studs.
- Grid-pattern sweep: Move the phone vertically and horizontally to map out clusters of nail detections.
- Aligning dots: Connect the marked points. A straight vertical line of detections outlines the hidden stud.
Using Baseboards and Outlet Boxes as Clues
If plaster thickness makes magnetic readings difficult, look for architectural clues. Baseboards were nailed directly into the studs during installation; look closely along the top of your baseboard for small filled nail holes or wood plugs. Additionally, electrical outlet boxes were nailed directly to the side of a stud. Tapping the plaster next to an outlet will quickly reveal which side is solid wood, and you can measure standard 16-inch increments from there [2].
Drill-Free Validation Techniques for Plaster Walls
Plaster is brittle and cracks easily, so exploratory drilling should be avoided. Instead, validate your findings by tapping the wall with a rubber mallet; a hollow ring indicates empty space, while a solid thump confirms a stud. If you must drill, stick a piece of painter's tape over the marked spot to prevent plaster flaking. Use a high-carbide masonry bit to drill through the plaster layer first, then switch to a standard wood bit for the stud.